Get These Digital Marketing Foundations Right And You Will Be Alright
You’ve had a business idea and you’re executing to make it a reality, great! Here’s what you need to do from here from a digital marketing perspective. We’re assuming you might want to pick up a few clients from your website and social media.
Starting a small business in Australia checklist
Read on to download a free copy of our digital marketing checklist for startup businesses.
Click on any of the steps below to be taken directly to them. We have created a full step by step guide for you to implement the below. Don’t be intimidated. It’s super easy!!
Article Summary
Too Long? Don’t Want To Read?
Enable Google Search Console, submit your sitemap and request a Google crawl
Create a Google My Business profile, get verified and create a review link to embed into your email
Setup a Facebook Business Page, convert it to business manager
Create the Facebook Pixel, integrate it into your site, create events & audiences and get tracking
Download our checklist
Subscribe to Keep Up With Our
Guides & Insights!
Google Analytics
Google Analytics exists to track your website visitors, their behaviour, and engagement, as well as how they came to find your site. This also happens to be one of our favourite SEO tools.
What you’re doing and why: You are installing the analytics tracking code that every industry professional uses. It will give you insights not only on your visitors but also what queries you are showing up for on search engines and a nifty live feed. Based on data gathered through analytics you will be able to formulate future campaigns.
Before you get started: You will need an email account for most of the steps below. We highly recommend you use the same address for all of these in order to keep everything in one tidy place. Your business email address is usually the best. You do not require a new Google/Gmail account.
Google Analytics Setup
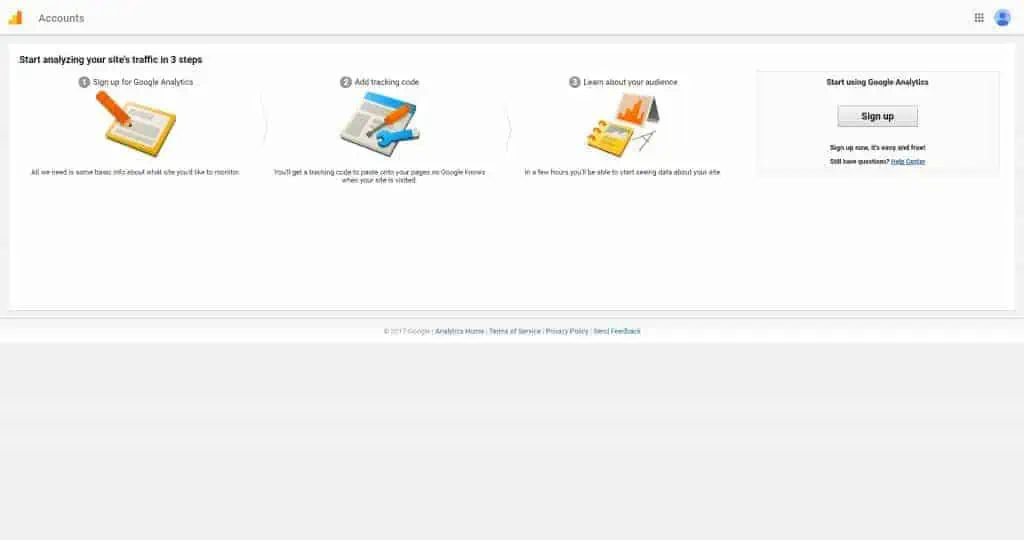
- Go to analytics.google.com
- Create a Google account or sign with your current address
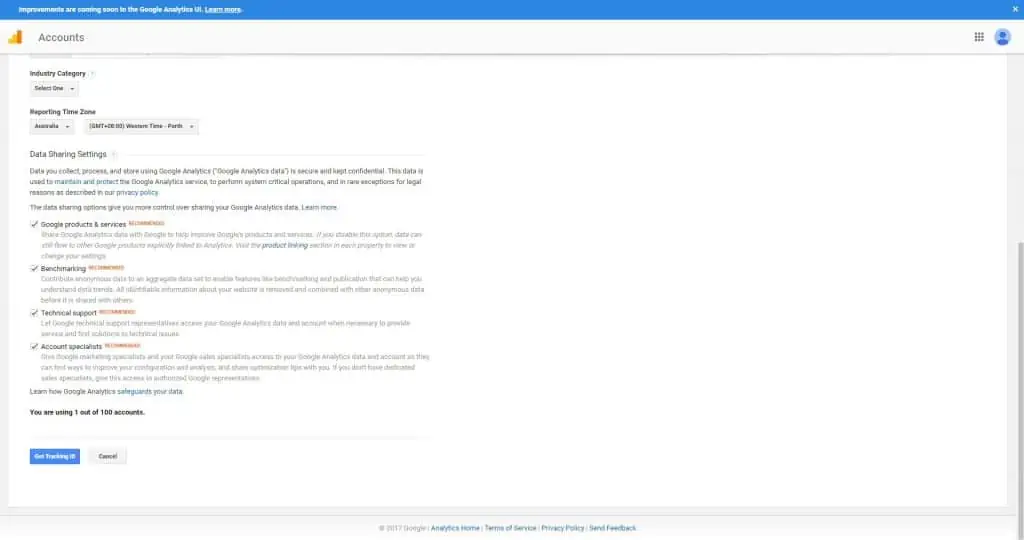
- Fill out all the details for your new account and hit “Get Tracking ID”
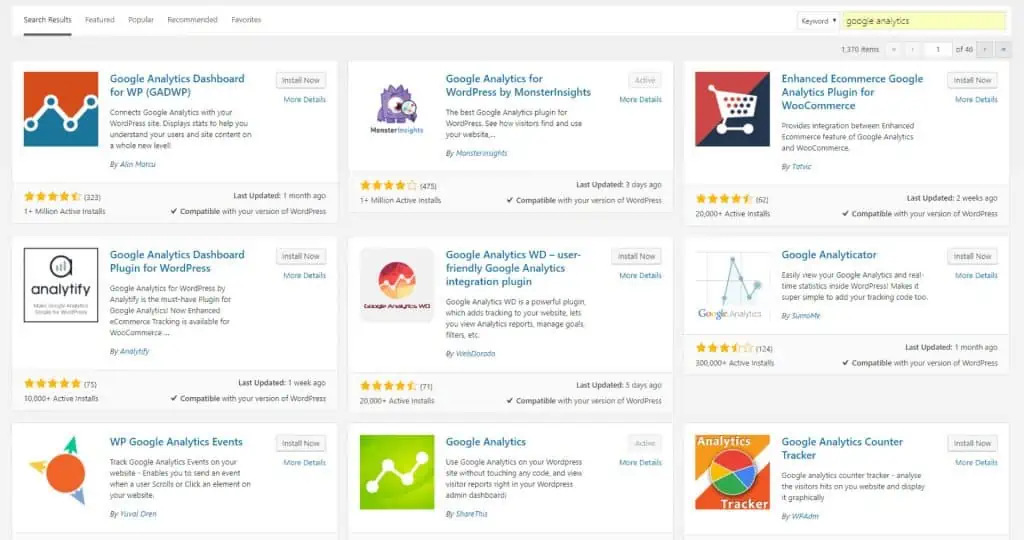
- Integrate your tracking code into your website (If you’re using WordPress use a plugin like “Google Analytics for WordPress by MonsterInsights“.
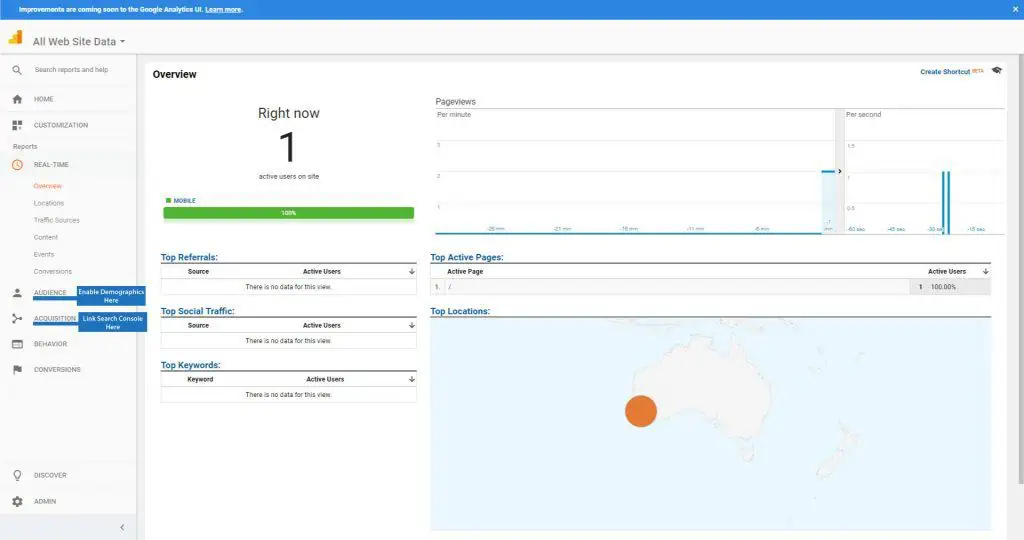
- Next, go to “Real-Time” on the left-hand hotbar of your Analytics dashboard while also navigating to your website in another window. You should now see yourself pop-up on the live feed map.
- Now go to Audience > Demographics and enable demographic tracking
- Go to Acquisition > Search Console > Queries and link your Search Console account (Go To The Next Section)
Google Search Console
The Google Search Console, formerly known as Google Webmaster Tools, allows you to manage your relationship directly with the search engine. From submitting your site to Google’s index to checking search queries and identifying critical errors like 404’s, having this setup is absolutely critical, you won’t be using it a lot but you’ll make things easier for yourself when you do decide to focus on SEO.
Why you’re doing this: The Search Console feeds search engine queries and respective ranking to Google Analytics. After verifying ownership of your website you will be manually submitting your website to the Google index. This means within 24 hours your site will be found somewhere on the search engine.
Before you get started: If you use the same email account here as you used for the Google Analytics, you will make your life far less complicated. Linking will be super easy for you.
Google Search Console (formerly Webmaster Tools) Setup
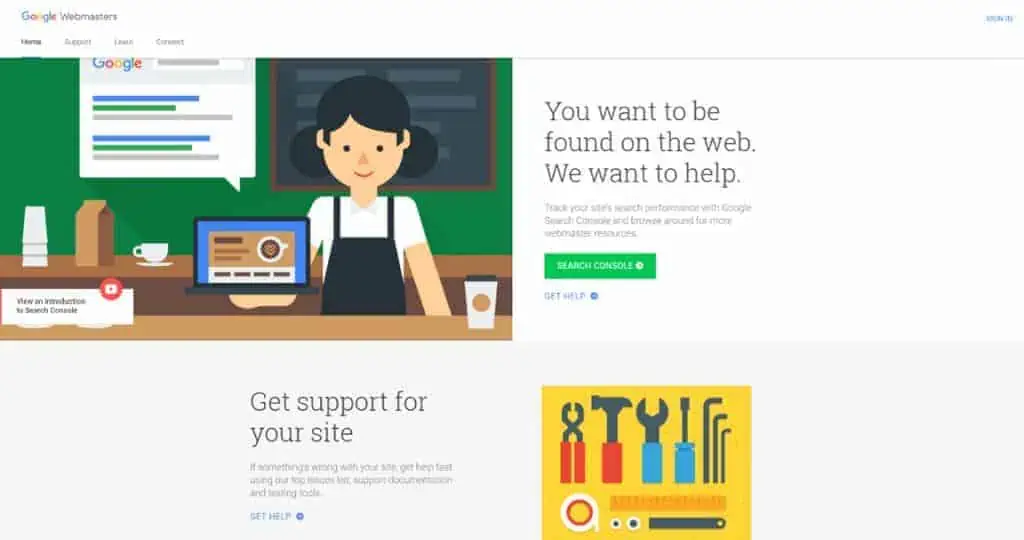
- Go to www.google.com/webmasters
- Sign in with your Google account created previously
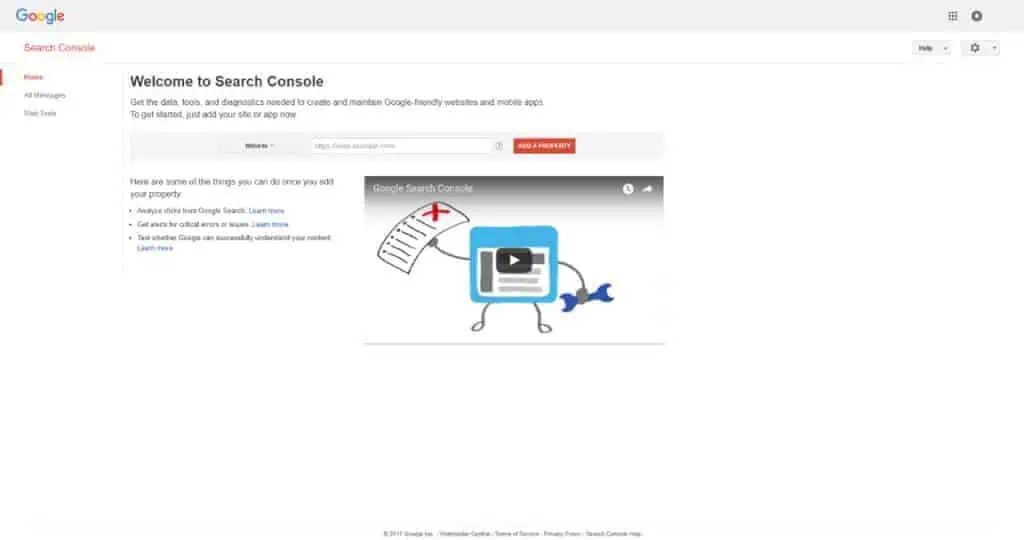
- Add your website address and hit “Add A Property”
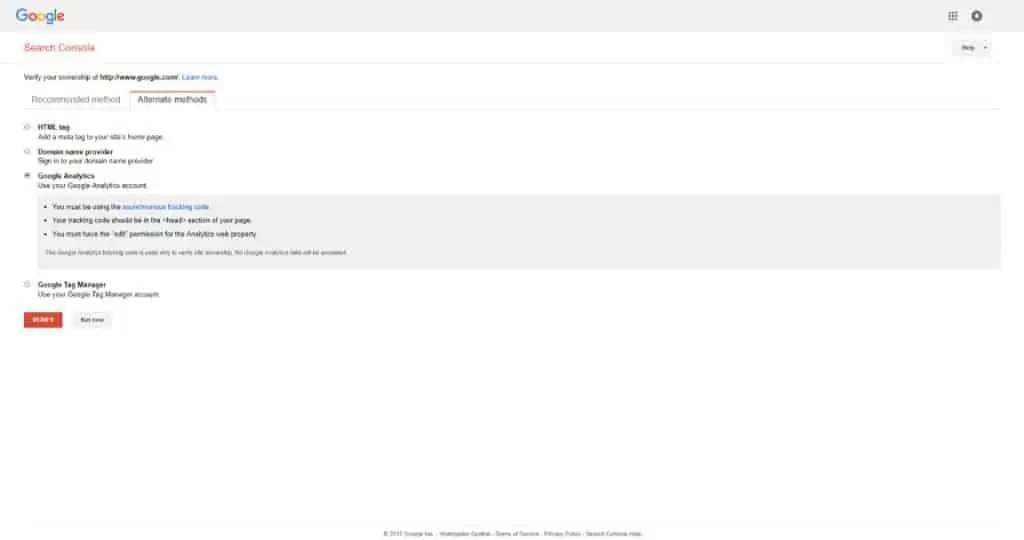
- The recommended route would be to download the file that is shown to you here. It’s as simple as uploading this file to your hosting home directory (usually your public_html folder under File Manager), however we reommend that you click the “Alternate methods” tab at the top and verify your site ownership with your already installed Google Analytics.
- Once completed click “Crawl” on the left-hand side and add your sitemap. If you’re using WordPress we absolutely love working with the free plugin Yoast SEO. Simply download, activate and grab your sitemap after running the setup wizard.
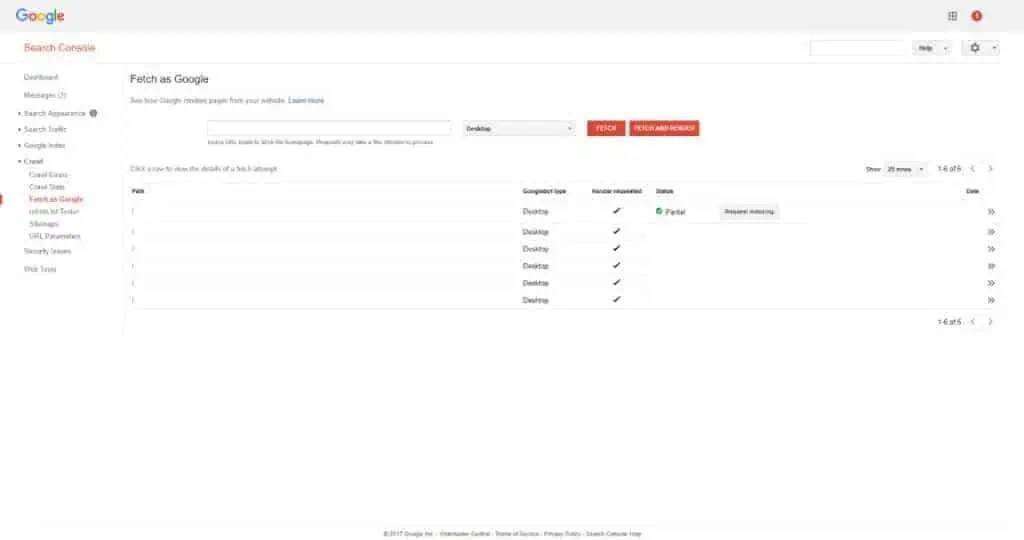
- Still under the “Crawl” menu click “Fetch as Google” and click “Fetch And Render”. Wait a couple of minutes (Quick coffee break?)
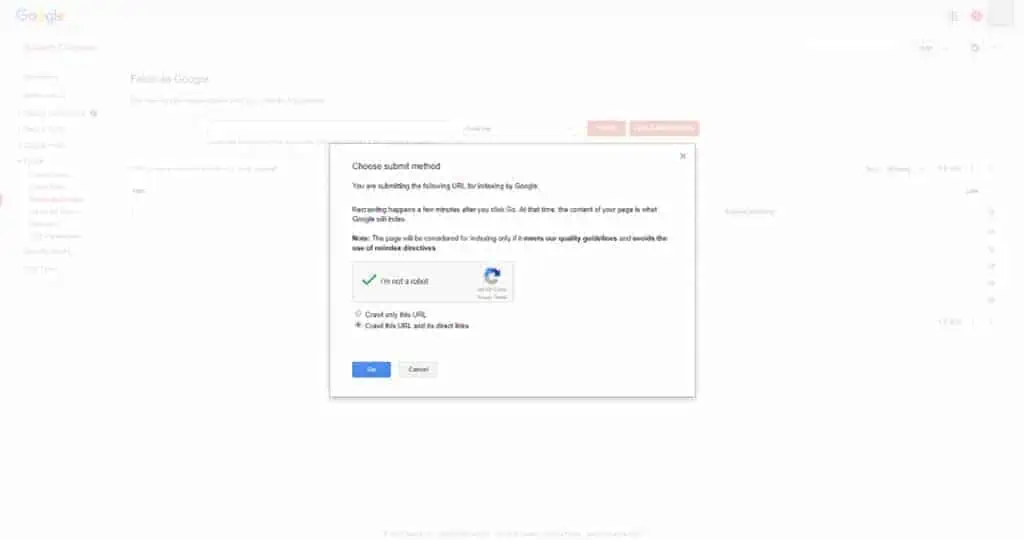
- Once the processing is done click “Request Indexing” and select “Crawl this URL and its direct links”
- All done!
Google My Business
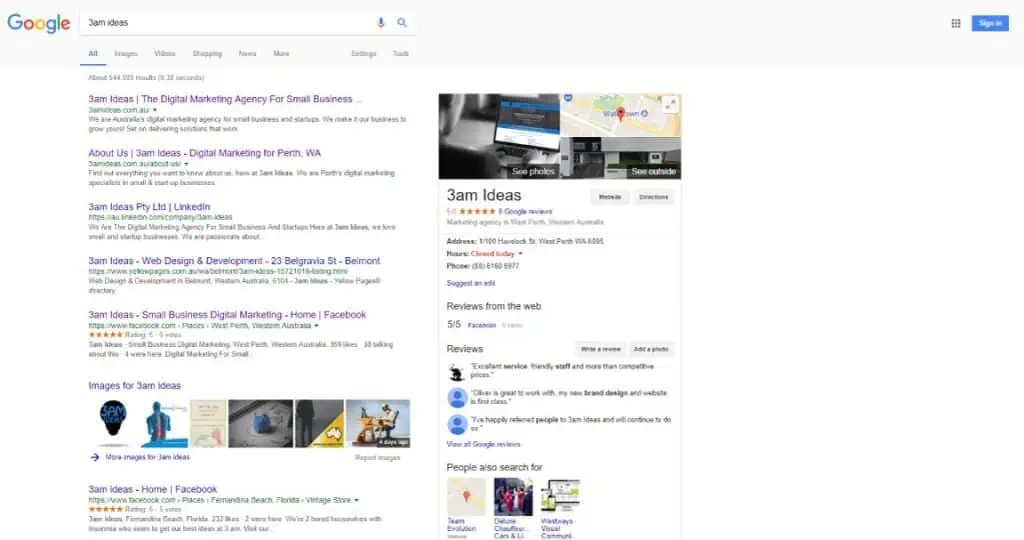
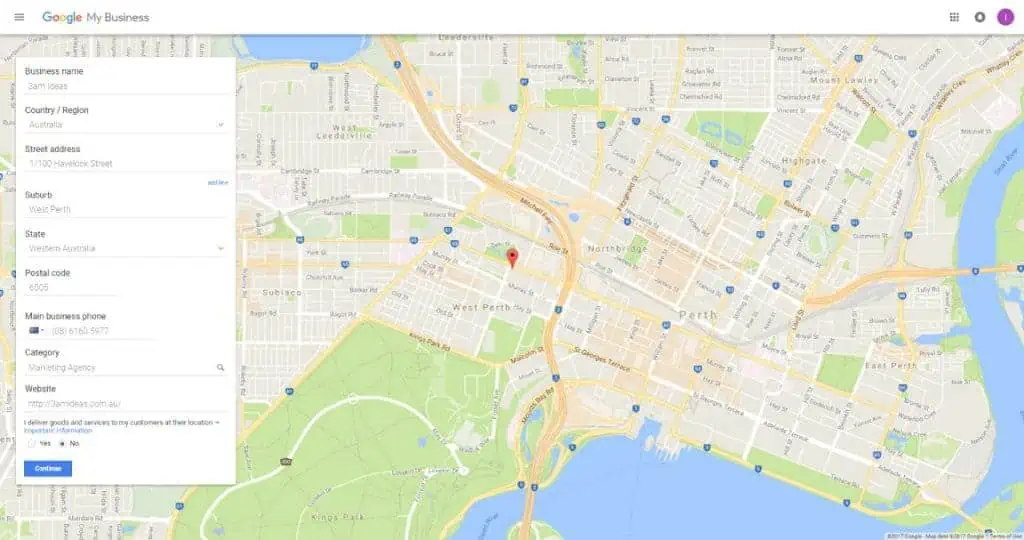
Google My Business is the company profile on the search engine. Here is ours.
Why you’re doing this: You will create a Google profile that will allow you to display a map link, pictures of your place of business, opening hours, phone number and so much more. If you’re a local service provider or a retail shop, this is a must if you want to be found on Google Maps or get calls through search queries. Once the process is complete we will also be creating a link to take people directly to where they can leave you a review on Google.
Before you get started: If during this process Google requires mail verification you will need to wait approximately two weeks to complete this step. Just bookmark this page (Keyboard shortcut: Ctrl + D if you’re on a PC) to come back.
Get Started with Google My Business
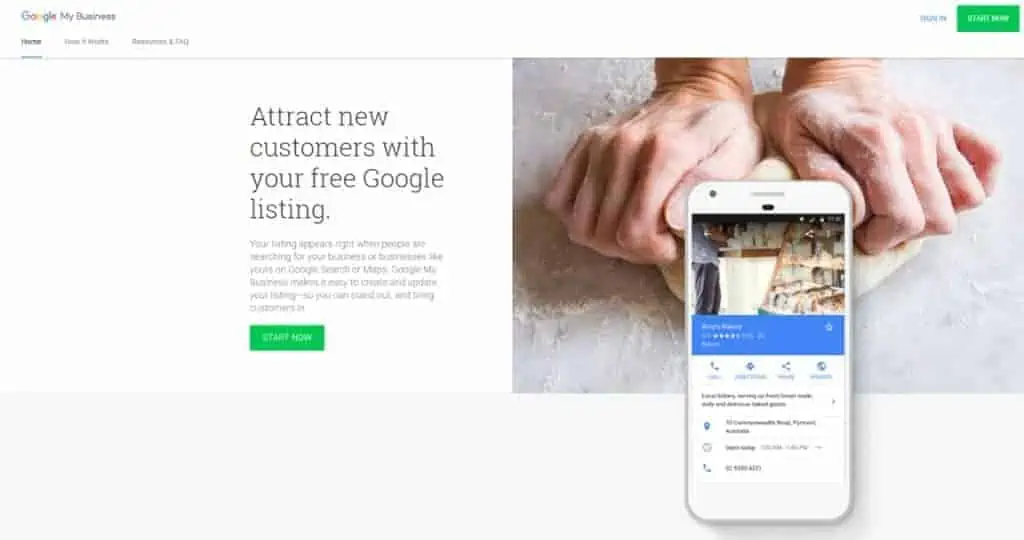
- Go to business.google.com
- Sign in with your Google account created previously
- Fill out your company location.
- Hit continue
- Go through the verification process, if you are required to do it by mail it will take 2-3 weeks for the letter to arrive at your specified address.
- Congratulations you are Google verified. *fistbump*
How to Get a Google My Business Review Link
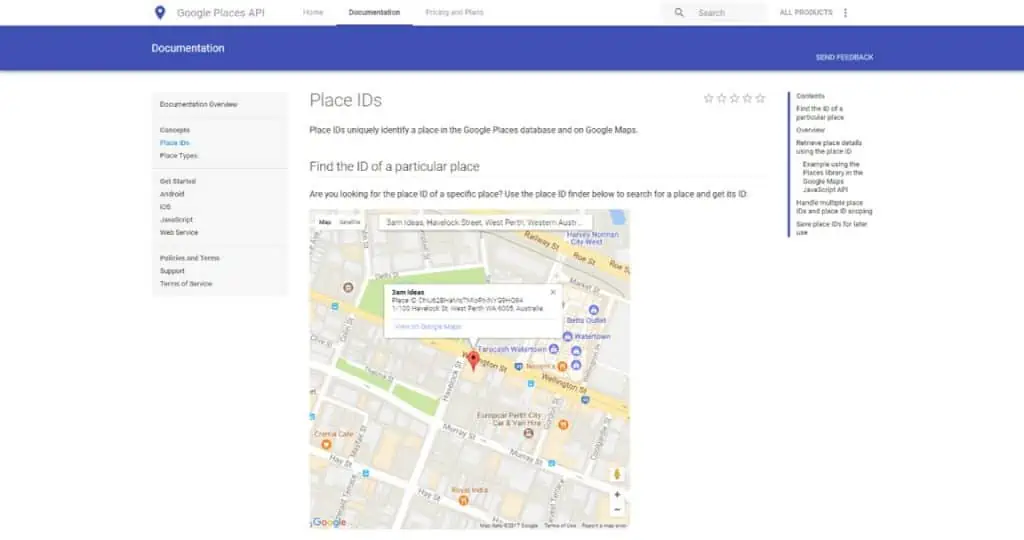
- Now for the review link – Go to developers.google.com/places/place-id
- Search for your business and copy the Place ID that you can see pop-up on the map.
- Substitute your Place ID with the bolded ID, which is the 3am Ideas one,
https://search.google.com/local/writereview?placeid=ChIJj61dQgK6j4AR4GeTYWZsKWw
- Copy the link and send it to your customers, or hyperlink it to some text and prompt people to click here and review us!
For hacks on how to take your Google My Business to the next level by optimising it like a pro, check out our post on Google My Business Hacks.
Facebook Business Page
We are going to assume you have already set up your local business or company page on Facebook. We are going the extra step, and setup conversion tracking from tracking attained through Facebook. Whether you will advertise or not, it’s about tracking data. Data is power.
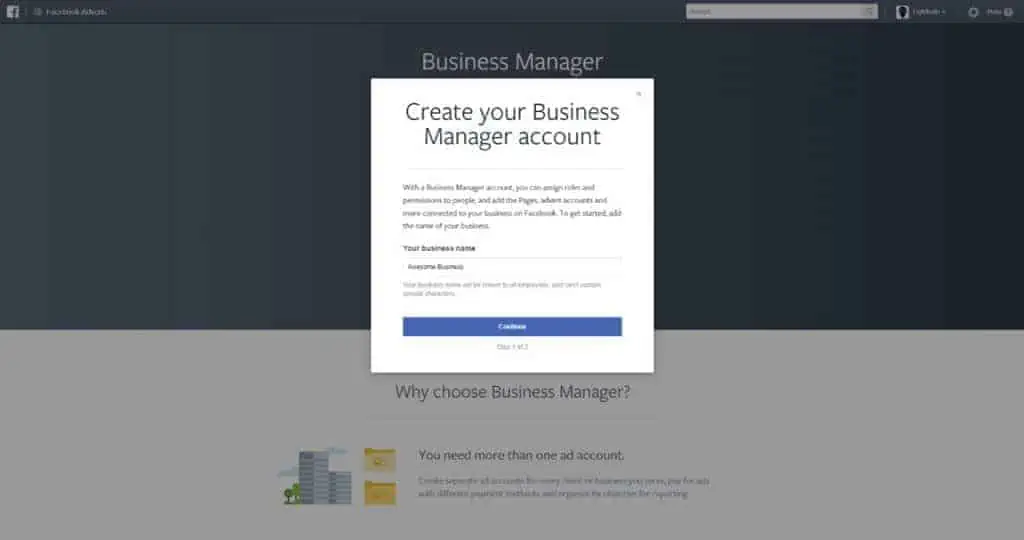
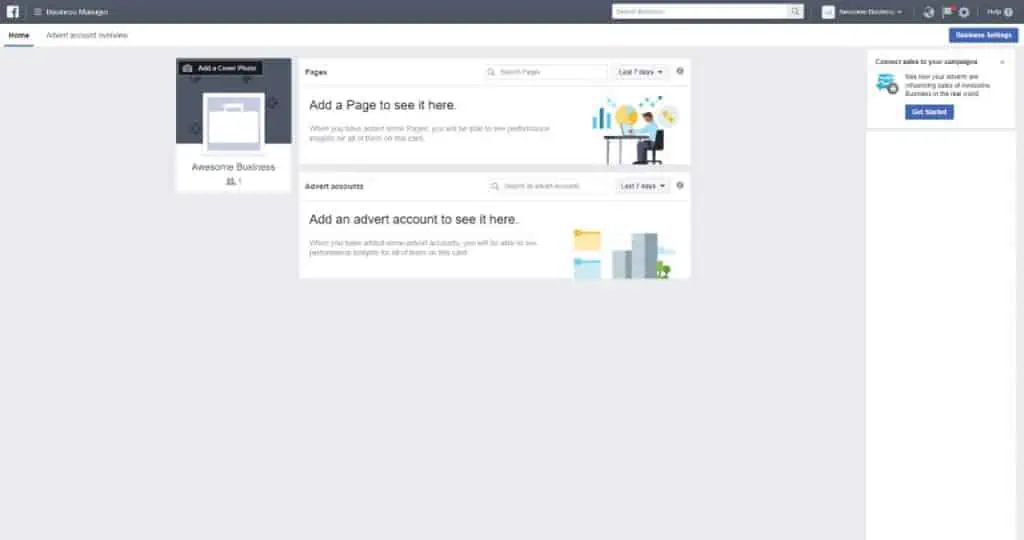
Why you’re doing this: You will be creating a Facebook Business Manager account, you will be adding your Facebook page to it and creating an advert account, whether you will be advertising on Facebook or Instagram, or not. Trust us.
Before you get started: Consider this and the next step (Facebook Pixel Setup) to be the Facebook equivalent to Google Analytics and Search Console.
Facebook Business Manager
- Go to business.facebook.com
- Sign in with the Facebook account associated with your business page
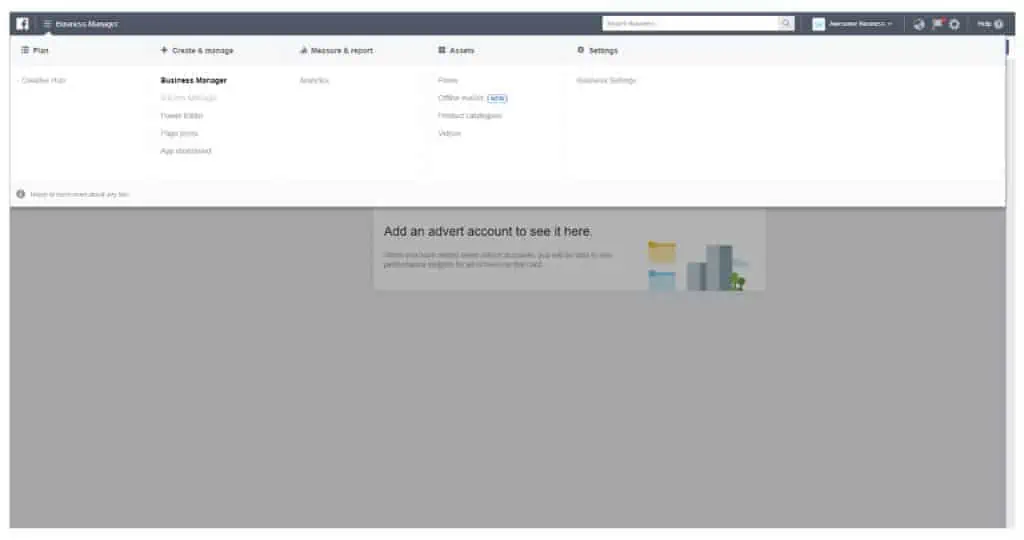
- Hover over the top left-hand menu with the 3 horizontal lines and under the Settings tab navigate to “Business Settings”
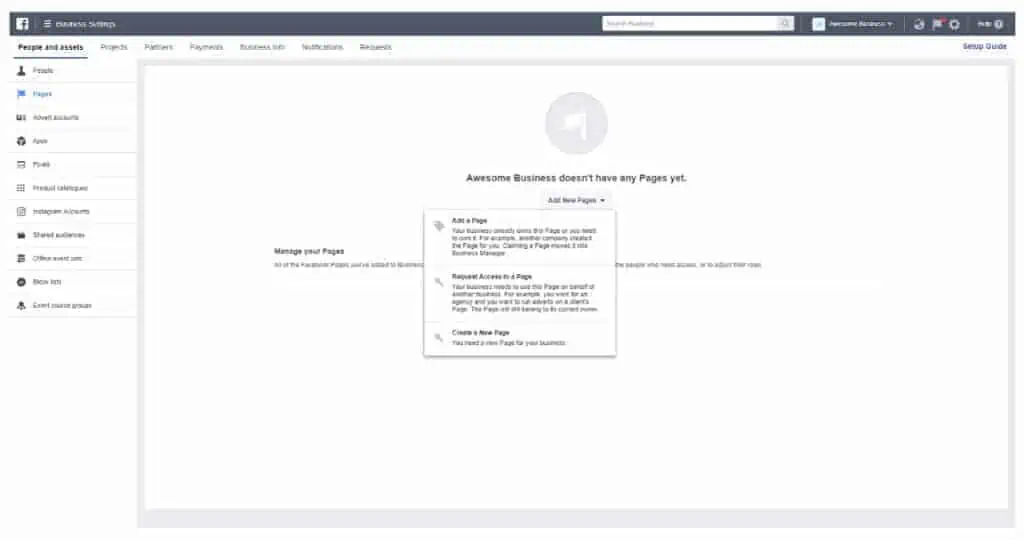
- From the left side bar menu choose the second option “Pages” and add your business page by clicking “Add New Pages” on the top right-hand side of your screen.
- Simple! The insights and power you now have over your Facebook business page go way beyond the simple setup. Your page still works as normal but is now also linked to this service. After installing the Facebook Pixel in the next step, we highly encourage you to only undertake Facebook advertising through this site, rather than just hitting “Boost Post”. The performance you will get out of it is much more cost efficient.
Facebook Pixel
The Facebook Pixel tracks your website visitors and helps you track conversions, it is what every big company has installed on their website at the moment. That’s how you see advertising related specifically to things you are interested in. Facebook knows what you like, you told them.
Why you’re doing this: You will be creating the Facebook Pixel, installing it onto your WordPress website and creating tracking events.
Before you get started: We are assuming you have a WordPress website, if this step is too complicated for you, you can simply email the Facebook pixel instructions to your web developer directly from Facebook. So still go ahead with this step.
Facebook Pixel
- Go to business.facebook.com
- Sign in with the Facebook account associated with your business page
- Hover over the top left-hand menu with the 3 horizontal lines and under the settings tab and navigate to “Pixel”
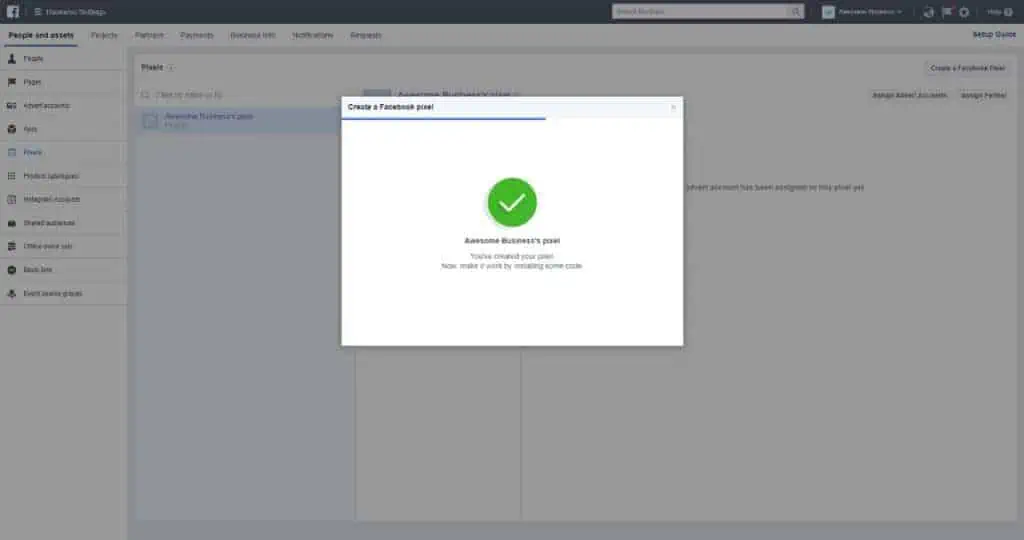
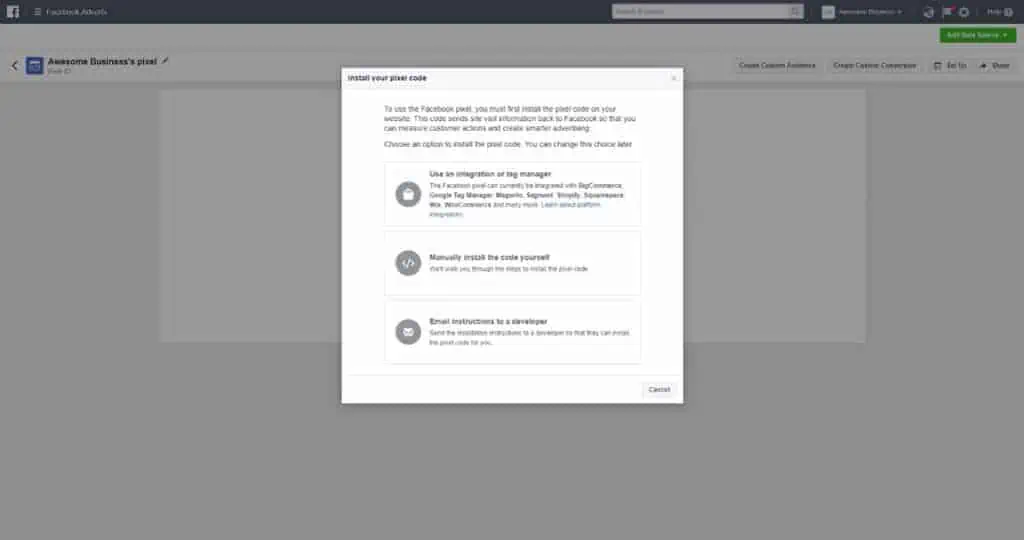
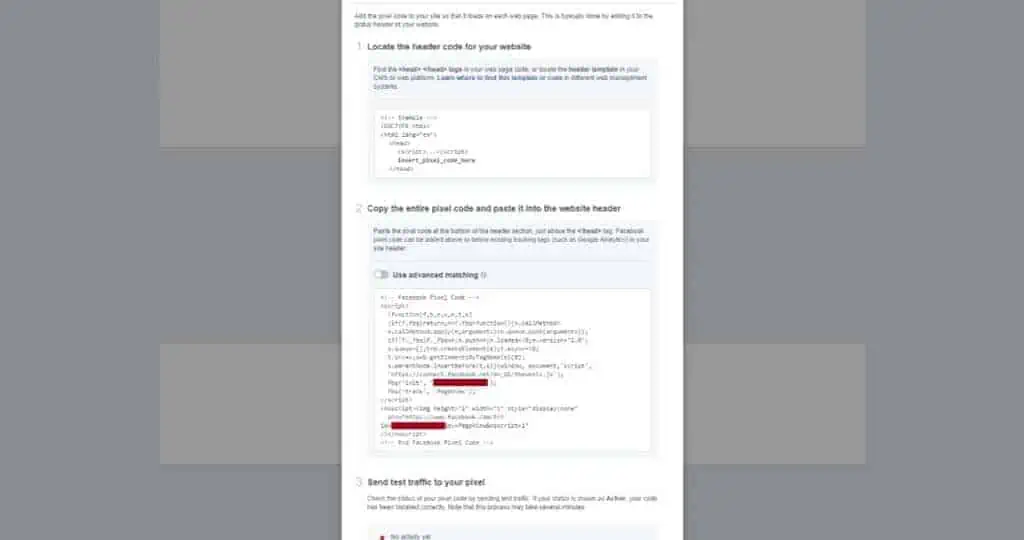
- Go through the prompts of setting up your Pixel for your Facebook page. At this point, you can email the instructions directly to your web developer, or just get it done yourself. It’s easy!
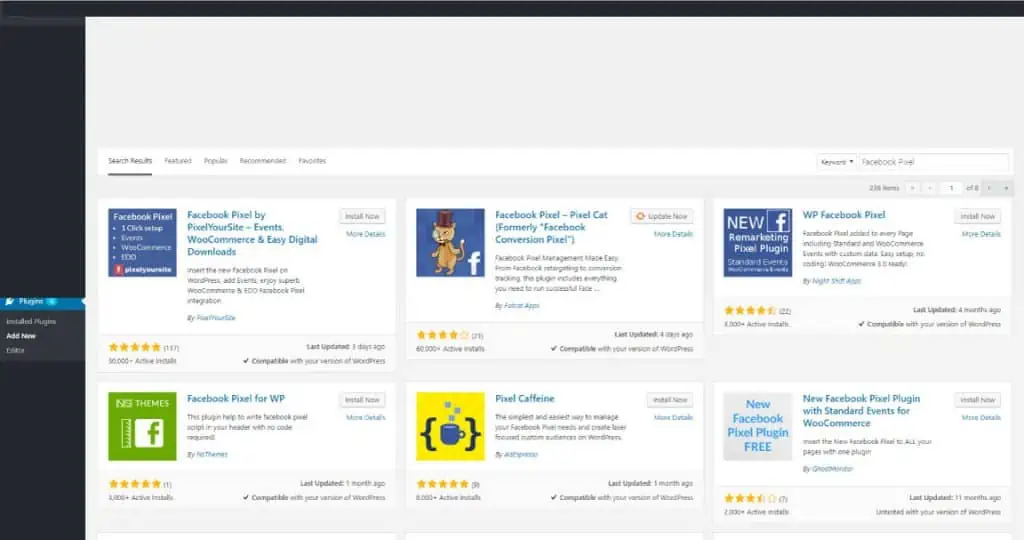
- Once the pixel is setup you want to head over to your WordPress page and navigate to Plugins > Add New
- Here simply search for “Facebook Pixel” and choose any of the popular options here, based on number of installs and how highly they have been reviewed.
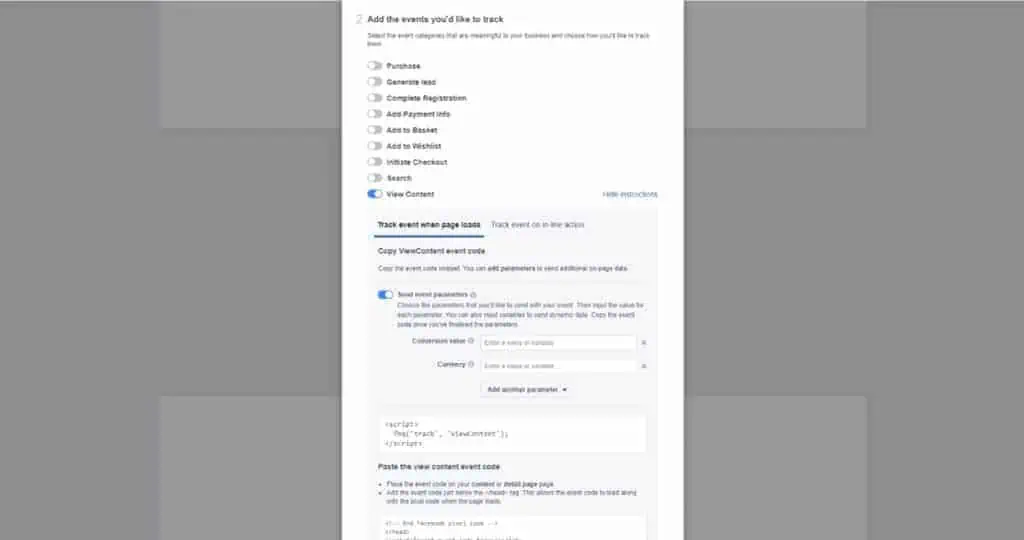
- Let’s create an event for you that tracks when people have gone to your Contact Us page. Click the “View Content” event option, then simply copy and paste the tracking code into your contact us page by editing it. Here’s what the code will look like except we changed the words “ViewContent” to “ViewContactUsPage” just so you can keep track of what you’re….tracking <script> fbq(‘track’, ‘ViewContactUsPage’); </script>
- Save the page and you’re good to go. Facebook will prompt you if your Pixel isn’t firing but you can also download a Chrome Extension to check the Facebook pixel, not only on your site but every site on the web. You can check up on companies who check up on you. Crazy!
We hope this detailed checklist for your new website has been helpful. If you need any assistance with the setup, email us, hit us up on social media, whatever.
Make sure you sign up below to grab your downloadable checklist to print or save on your desktop!
Subscribe to Keep Up With Our
Guides & Insights!
About 3am Ideas
We are Australia’s digital marketing agency for small businesses and startups. We provide an ROI driven service to our clients. We are especially dedicated to our Business Startup, Social Media Marketing and Search Engine Optimisation packages.
We always aim to work intimately with our clients because collaboration guarantees best results. From startups with big ideas or established small & medium sized businesses wanting to take the next step. Gain control over your online presence.


